If you’re thinking of swapping your Harley-Davidson’s incandescent turn signals for the signature LED inserts, this write-up walks through one real-world install, what went right, what didn’t, and the practical fixes that made the upgrade usable on a 2019 Heritage.
What to expect before you buy
- Socket type matters. Many markets outside the US use a single-filament 1156 socket in the front; the DRL feature on these Harley inserts requires a dual-filament 1157 socket. If your bike has 1156 front sockets, the inserts will function only as indicators, not as DRLs.
- Housing size can differ. Rear housings are often about 1 mm smaller in diameter than the front housings, so even if the bulb plugs in electrically, the insert may not clip into the rear housing without modification.
- Price and risk. These inserts are relatively expensive. If you plan to modify them to fit, be aware that irreversible changes may make them unsellable later.
Step-by-step install
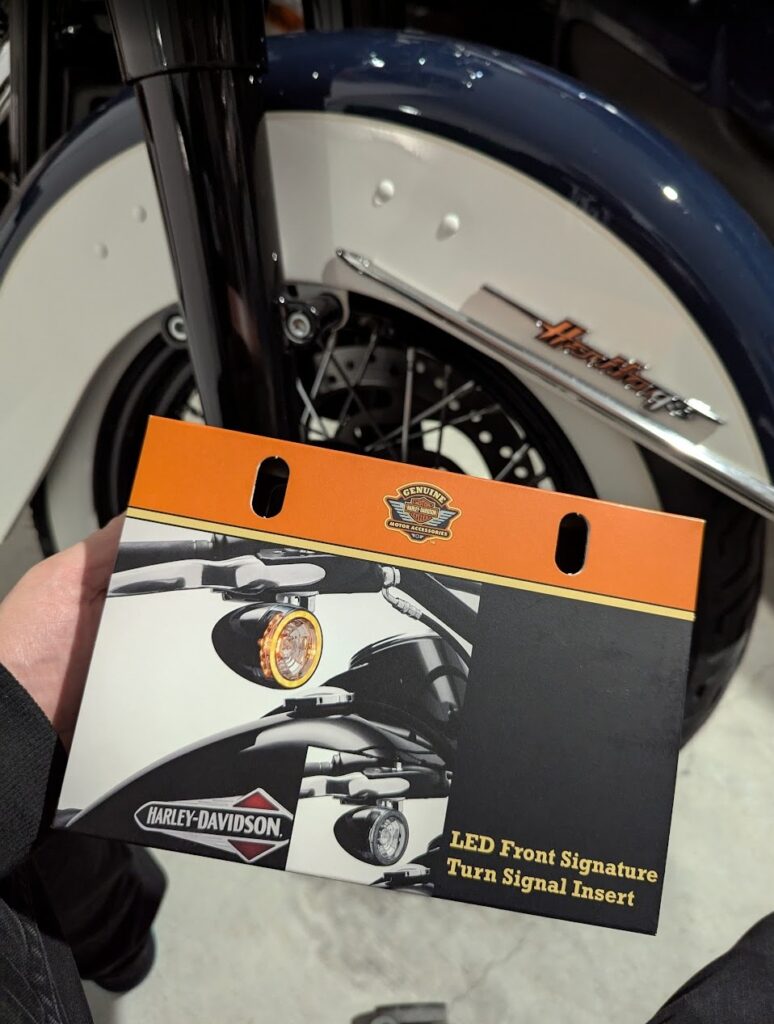
- Buy the inserts and inspect them. Remove packaging, check the orientation sticker (this side up), and confirm the insert type (single vs dual filament).
- Remove the factory lens. Use a small screwdriver in the housing groove, twist, and pop the cap off. The factory incandescent bulb twists out the same way.
- Test-fit electrically. Before finalizing, plug an insert into the socket and test the turn signal function to confirm wiring compatibility.
- Fit the insert physically. Align the insert per the sticker and push until it locks. If it doesn’t clip in, don’t force it.
- Modify carefully if needed. If the insert is just slightly too large for the rear housing, you can carefully grind or trim the tabs that prevent clipping. Take off very small amounts and test frequently.
- Secure the insert. Once seated, use a small amount of adhesive sealant to hold the insert in place and prevent vibration loosening. Let the sealant cure before riding.
- Final test ride. Check that the turn signals operate correctly and that the inserts remain secure after a short ride.
Troubleshooting and tips
- DRL not working: If the DRL doesn’t light, confirm whether your front socket is 1156 (single filament) or 1157 (dual filament). If it’s 1156, the DRL feature won’t function without rewiring or a different socket arrangement.
- Fit issues: If the insert won’t clip in but plugs into the socket, small, careful trimming of the plastic tabs with a Dremel or file can help. Trim a little at a time; over-trimming can ruin the insert.
- Secure mounting: Vibration is real on a Harley. Use a vibration-resistant adhesive or sealant to keep the insert from working loose. Test after a short ride and re-tighten or re-seal if needed.
- Matching front and rear: Even if the inserts work electrically in the rear, the housings may differ. Expect to do minor bodywork or trimming to get a flush look.
- Resale caution: Any irreversible modification may reduce resale value of the inserts. Consider whether you want a permanent change before cutting or grinding.
Final verdict and next steps
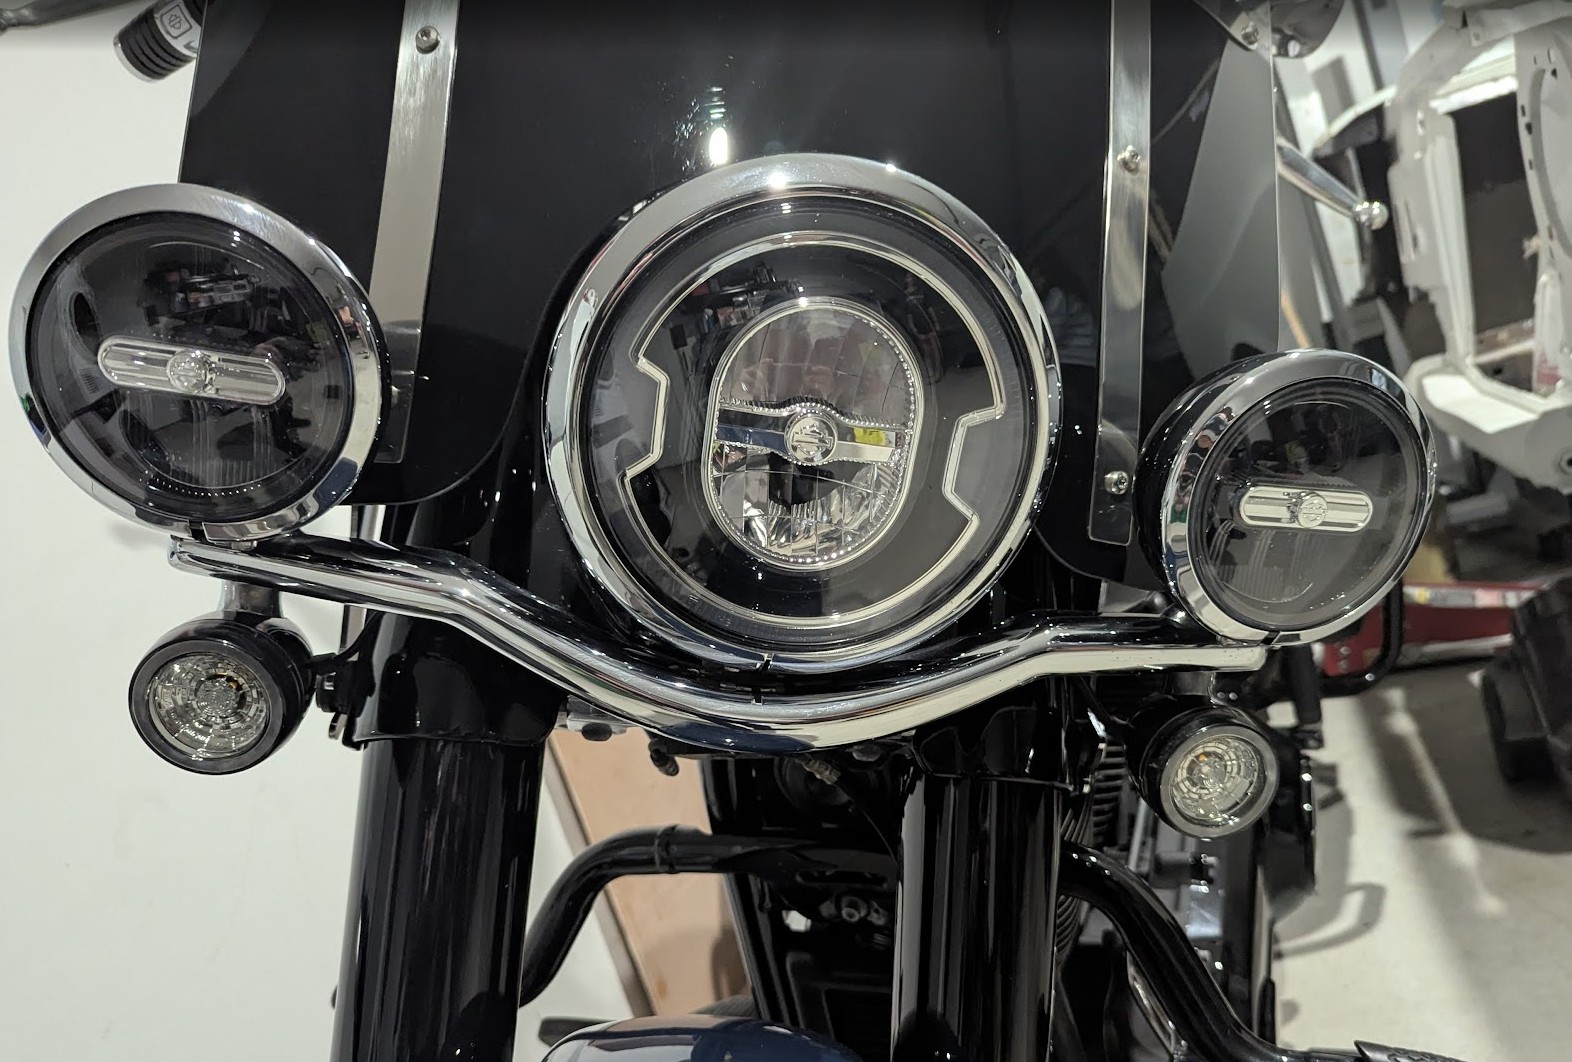
The LED signature inserts dramatically improve the look of the bike and the brightness of the turn signals. If your goal is purely better visibility and a modern look, they’re worth it — but if you bought them specifically for the DRL feature, check your socket type first. For a clean DRL solution on bikes with single-filament sockets, consider adding a separate DRL light under the headlight or a dedicated running-light module wired to a switched power source.